
How to Install Storm Drains: A Comprehensive Guide
Installing storm drains may seem like a complex task, but with the right tools and knowledge, homeowners can handle the job with ease.
Storm drains play a strong role in protecting homes and properties from water damage. These systems redirect excess rainwater away from foundations, streets, and landscaping, preventing flooding and erosion. Installing storm drains may seem like a complex task, but with the right tools and knowledge, homeowners can handle the job with ease. Here’s a comprehensive guide on how to install storm drains, step by step.
Understanding Storm Drains and Their Importance
Before diving into the installation process, it’s important to understand what storm drains do. These systems help manage runoff by channeling water away from areas where it can accumulate, such as driveways, lawns, and roads. Storm drains also direct water into municipal systems or natural watercourses, reducing the risk of flooding and water damage. A well-created and properly installed storm drain system can prolong the life of a property while keeping it safe from unpredictable weather.
Choosing the Right Type of Storm Drain
The first step in the installation process is choosing the right type of storm drain for a property. Different systems are available depending on the landscape and drainage requirements. The most common options include:
French Drains: These consist of a perforated pipe surrounded by gravel, which helps redirect water from the surface down into the ground. They are ideal for areas with poor drainage or for addressing soggy spots in the yard.
Trench Drains: These systems are installed along low points or edges of hardscaped areas, like driveways or patios. They consist of a long, shallow trench filled with a grated cover that catches rainwater and directs it to a pipe below.
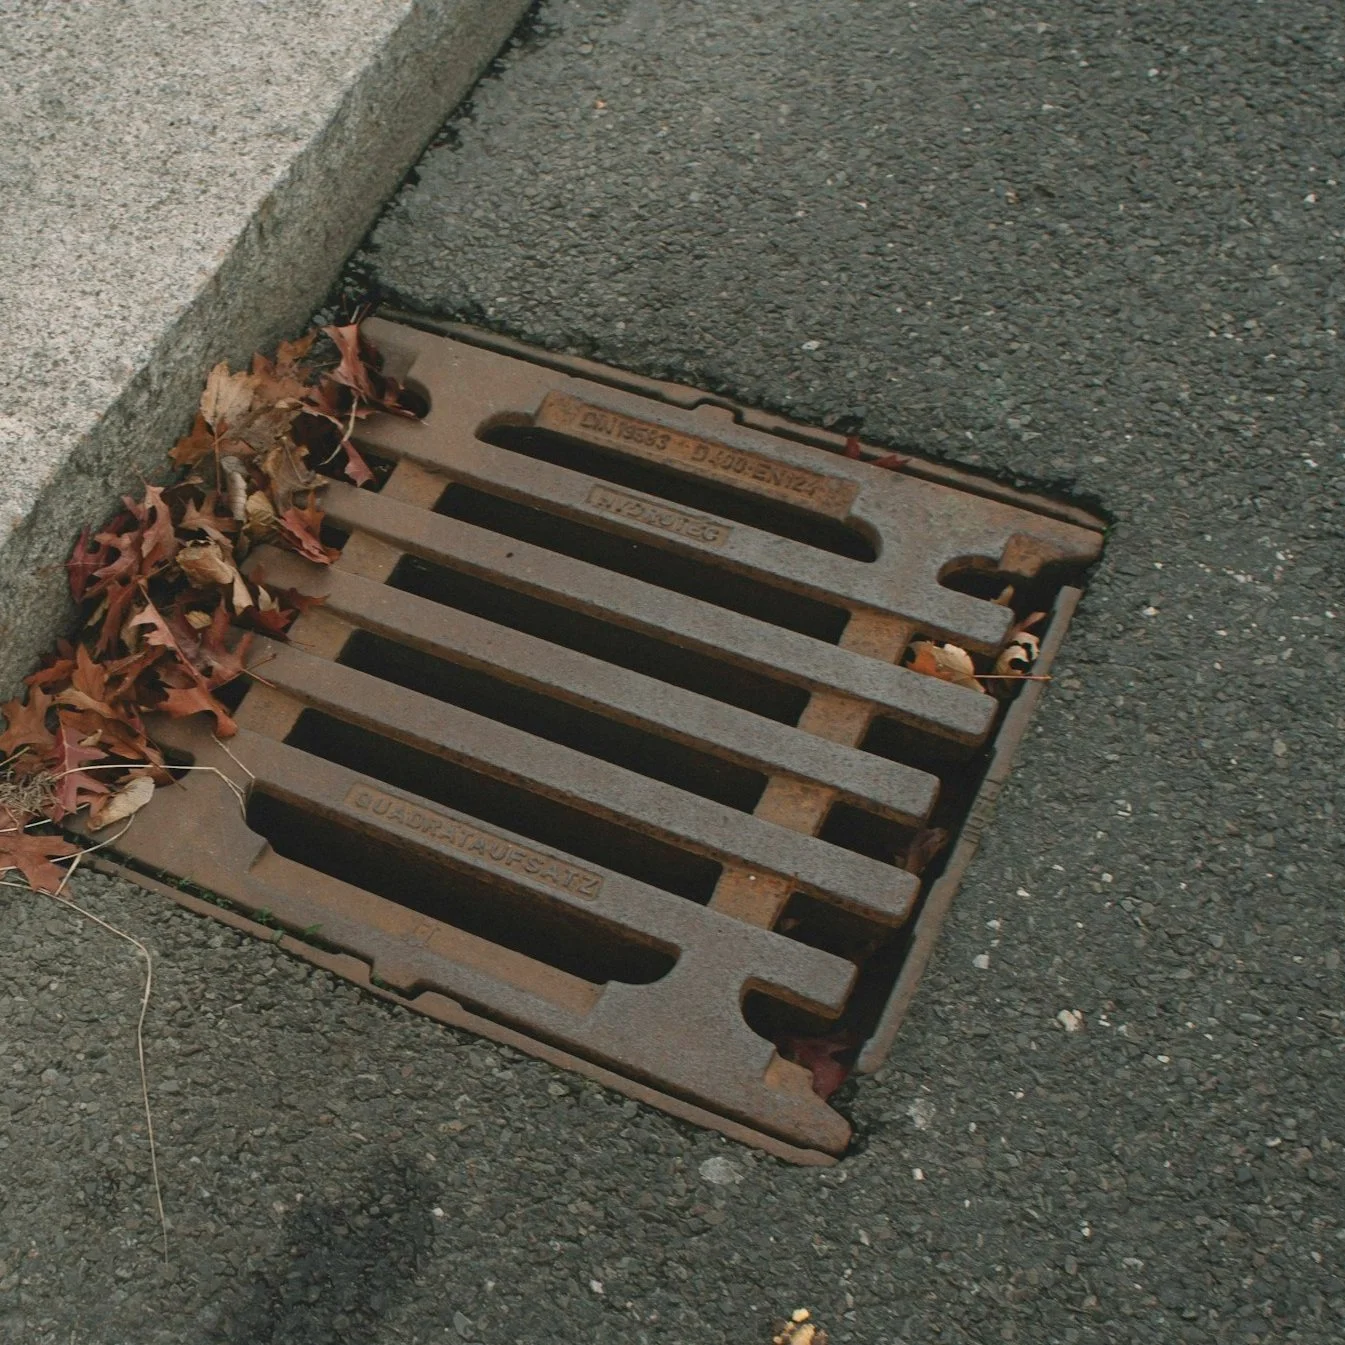
Catch Basins: Catch basins are typically installed in areas with concentrated runoff, like driveways or streets. Water flows into a grated basin, which collects debris and directs water into a pipe system for disposal.
Assessing the Area for Installation
Before any digging begins, it’s essential to assess the area where the storm drain is going to be installed. Choose a location where water naturally accumulates and where it can flow away from a property. Avoid installing storm drains near trees or large shrubs, as their roots can mess with the system over time.
Next, determine the path water can take after it enters the drain. The goal is to direct water away from a home’s foundation and into a designated drainage area, such as a street, sewer system, or dry well. Check for any underground utilities that may be in the area, like gas, electric, or water lines, and take care to avoid them during the installation process.
Gather the Necessary Materials
Once the location is determined, it’s time to gather the materials needed for installation. Here’s a quick list of what will be needed:
Storm drain pipes (PVC or corrugated)
Catch basins (if applicable)
Gravel (for French drains)
Shovel or digging equipment
Level
Gravel or sand for bedding (if using trench drains)
Grates or covers (for trench and catch basin drains)
Pipe connectors and fittings
Proper drainage fabric (for French drains)
It’s a good idea to visit a local hardware store or consult with a professional to make sure everything is on hand before starting. Having the right tools and materials can make the job run more smoothly.
Excavating the Drainage Path
Start the installation by excavating the path where the storm drain can be laid. Depending on the type of system being installed, the depth and width of the trench may vary. For a French drain, dig a trench about 6 to 12 inches wide and about 18 to 24 inches deep. For trench drains or catch basins, the depth may be deeper to accommodate the drainage system.
Use a shovel or a small trenching machine for digging. It’s important to provide a consistent slope, generally 1 to 2 percent, to allow water to flow naturally through the system. A level can be helpful for checking the slope as you dig.
Laying the Drainage System
Once the trench is prepared, it’s time to lay the drainage system. If someone is installing a French drain, place a layer of gravel at the bottom of the trench to provide a stable base. Then, lay the perforated pipe on top of the gravel, confirming the holes face downward to allow water to enter. Afterward, cover the pipe with more gravel to protect it and help water flow freely.
For trench drains, place the drain channel along the edge of a driveway or patio, confirming it is level with the surrounding surface. Connect the pipes to the channel and secure them with fittings. Be sure to install grates or covers on top to allow water to flow into the channel while keeping debris out.
If someone is adding a catch basin, dig a hole deep enough to accommodate the basin. Position it at the lowest point of the area to collect water effectively. Attach the basin to the piping system and connect it to the rest of the drainage system.
Backfilling and Compacting the Soil
After the drainage system is in place, backfill the trench with soil or gravel. It’s important to compact the soil as needed to prevent settling over time. For French drains, make sure to cover the top with a layer of landscape fabric before backfilling with soil to prevent debris from clogging the gravel.
Once the trench is filled, level out the surface to match the surrounding area. If someone is installing a trench drain or catch basin, make sure the grates are level and flush with the surrounding ground to avoid tripping hazards.
Final Inspection and Testing
After the storm drain system is fully installed, it’s time to test its functionality. Run water through the system by using a hose and checking that it flows freely and without obstruction. Confirm that water is properly draining away from the foundation and into the designated drainage area.
If the water isn’t draining as expected, check for clogs or areas where the slope may be uneven. Adjust the slope if necessary, and make sure the pipes are properly connected. Once everything is flowing as it should, clients can be confident that the storm drain system is ready to handle future rainfalls.
Maintenance and Care
To keep the storm drains working properly, regular maintenance is key. Periodically check the grates for debris, clean the catch basins, and make sure the drainage pipes are free of blockages. Doing so can help keep a storm drain system in good shape for years to come.
Installing a storm drain may seem like a big task, but with the right tools and a little planning, it can be a manageable DIY project that protects a home from water damage. Following these steps can help anyone create an effective and long-lasting drainage system that keeps their property safe and dry, no matter how heavy the rain.